So you’ve decided to dip your toes into the exciting world of recording music or podcasts at home. You’ve got a shiny new microphone, but now comes the head-scratching moment: how do you actually get that sound into your computer? This is where the often-misunderstood audio interface comes in. For beginners, hobbyists, or casual users, choosing and connecting the right audio interface can seem daunting. This article will demystify the process, answering that crucial question: “How do I connect my microphone to my computer for recording, and what’s this box I keep hearing about?”
What is an Audio Interface and Why Do I Need One?
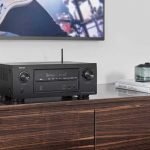
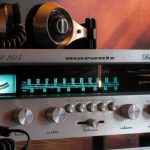
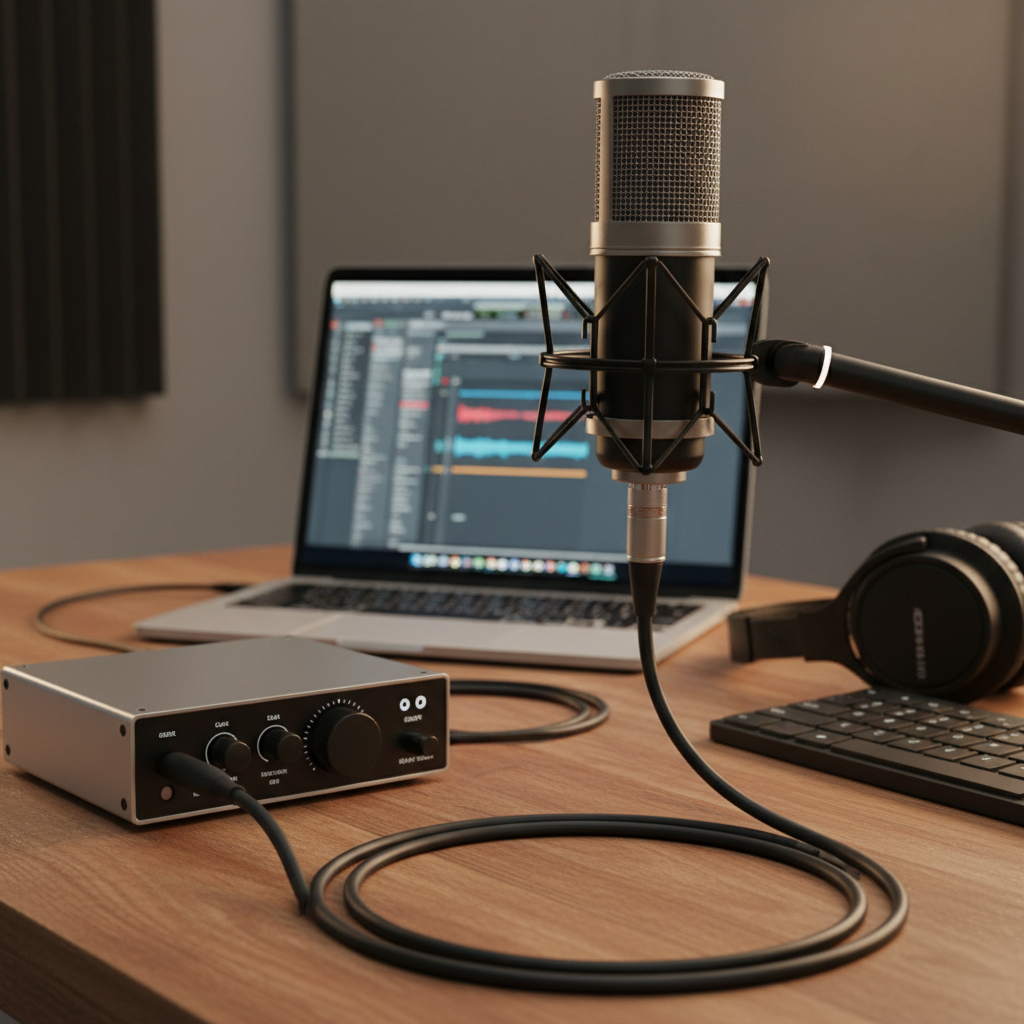
Think of an audio interface as a translator between your microphone and your computer. Most professional and semi-professional microphones use an XLR cable, which is a different type of signal than what your computer’s built-in sound card is designed to handle. An audio interface converts this analog microphone signal into a digital signal that your computer can understand and record, and it does so with much higher quality than your computer’s standard input. It also often provides phantom power (a small electrical current necessary for condenser microphones), dedicated headphone outputs for monitoring, and better sound playback. Without an interface, you simply can’t record many types of microphones directly to your computer.
Choosing the Right Audio Interface for You
For most beginners, simplicity and reliability are key. Don’t get caught up in interfaces with dozens of inputs and outputs unless you know you’ll need them. Here are a couple of important features to consider:
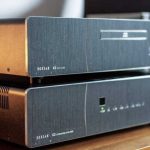
1. Number of Inputs: If you’re just recording a single vocal or instrument, a 1-in/2-out interface (meaning one microphone input and two outputs for speakers or headphones) is perfect and usually more affordable. Popular beginner models include the Focusrite Scarlett Solo or the Behringer UMC22. If you plan to record two microphones simultaneously, perhaps for an interview or a guitar and vocal, look for a 2-in/2-out interface like the Focusrite Scarlett 2i2.
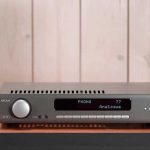
2. Connectivity Type (USB is Your Friend): Most beginner-friendly interfaces connect to your computer via USB (USB 2.0, USB 3.0, or USB-C). This is incredibly easy to set up – usually just a single cable from the interface to your computer. Avoid older FireWire interfaces unless your computer specifically supports them, as they are less common now. Check your computer’s ports to ensure compatibility.
Connecting Your Microphone and Getting Started
Once you have your audio interface, the connection process is straightforward:
Step 1: Install Drivers (If Needed): Before plugging in the interface, visit the manufacturer’s website and download the latest drivers for your operating system (Windows or macOS). While some interfaces are “class-compliant” and work without dedicated drivers, installing them often ensures optimal performance and unlocks all features.
Step 2: Connect the Interface to Your Computer: Use the provided USB cable to connect your audio interface to an available USB port on your computer. Your computer should recognize it almost immediately.
Step 3: Connect Your Microphone: Plug your XLR microphone cable into one of the designated XLR inputs on your audio interface. If you’re using a condenser microphone, make sure to activate “phantom power” (often labeled “48V” or “Phantom”) on your interface. You’ll usually see a small button or switch for this.
Step 4: Connect Headphones/Speakers: Plug your headphones into the headphone jack on your audio interface. This is crucial for monitoring your sound without latency (delay). If you have studio monitors, connect them to the main outputs of your interface.
Step 5: Select Your Interface in Your Software: Open your recording software (e.g., Audacity, GarageBand, Reaper, Ableton Live Lite). Go to its audio settings or preferences and select your newly connected audio interface as both the input and output device. This tells the software to listen to your interface for incoming sound and to send playback through it.
Usage Tip: Gain Staging. After setting everything up, speak or sing into your microphone and watch the input level meters on your interface and in your recording software. Adjust the “gain” knob on your interface (which controls the microphone’s input volume) so that the signal is strong but *not* clipping (going into the red). A good rule of thumb is to aim for the levels to peak around -6dB to -10dB. This ensures a clean, clear recording without distortion.
By following these steps, you’ll be well on your way to capturing high-quality audio with your microphone and computer, unlocking countless possibilities for your musical or podcasting adventures!