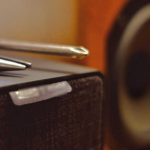
So you’ve bought your first electric guitar, you’re learning some riffs, and now you’re eyeing those tempting little boxes—guitar pedals. They promise a world of sonic possibilities, but connecting them can feel like a daunting puzzle. This article will untangle the mystery of guitar pedalboards for beginners, guiding you through choosing your first pedals and hooking them up correctly to unleash a universe of sound.
Choosing Your First Pedal: Beyond the Hype
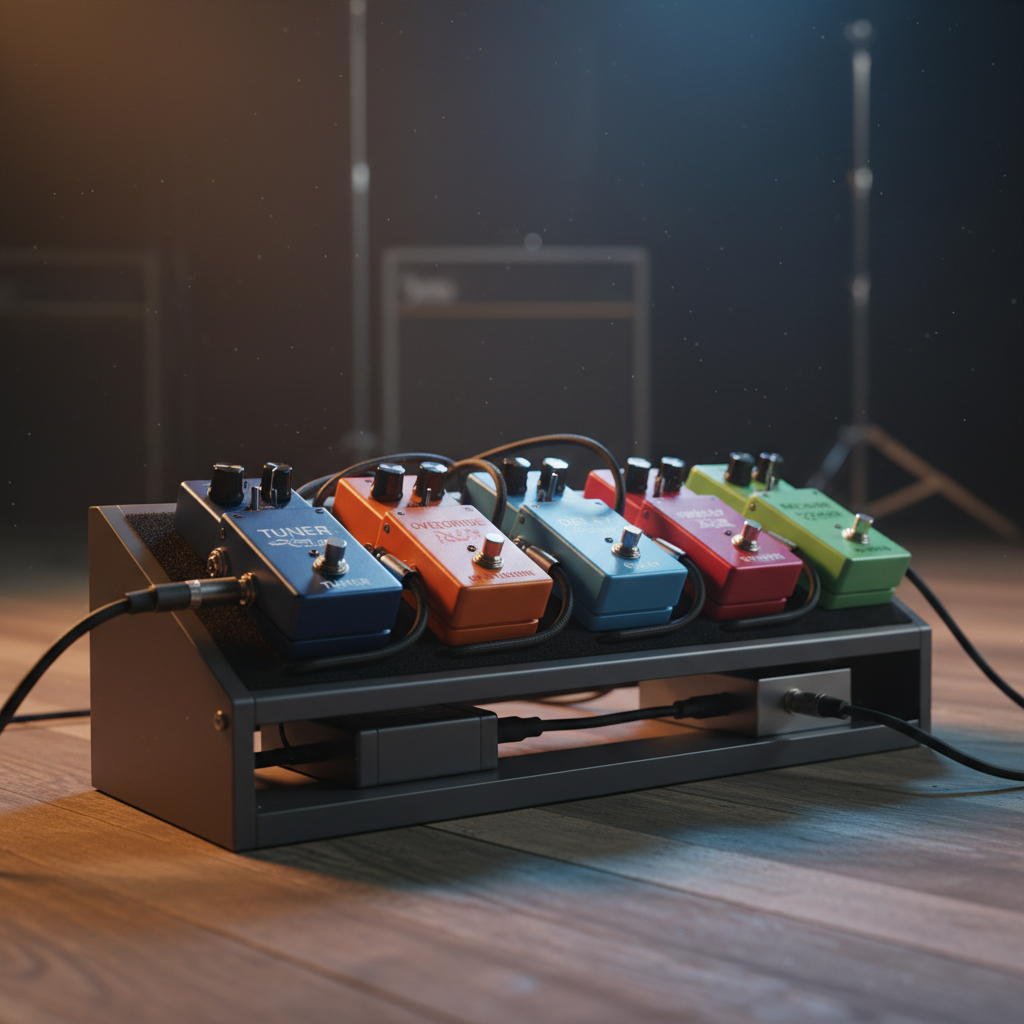
With countless pedals available, where do you start? Focus on fundamental effects that significantly alter your sound. For a beginner, the most common and impactful pedals are a gain pedal (Overdrive or Distortion) and a time-based effect (Delay or Reverb). An Overdrive pedal like the legendary Ibanez Tube Screamer or a Boss OD-3 adds warmth and grit to your sound, perfect for blues or classic rock. For something more aggressive, a Distortion pedal like the Boss DS-1 provides a heavier, more saturated tone. On the other hand, a Delay pedal (e.g., Boss DD-3T) repeats your notes, creating echoes and atmosphere, while a Reverb pedal (e.g., Electro-Harmonix Holy Grail) simulates playing in different acoustic spaces, from a small room to a grand hall. Start with one of each type—a gain pedal and a time-based pedal—to get a solid foundation of essential effects. Don’t fall into the trap of buying too many pedals immediately; learn to use a couple effectively first.
The Power Puzzle: Keeping Your Pedals Alive
Once you have your pedals, you need to power them. This is a common stumbling block for beginners. Most pedals run on 9V DC power. While many come with a single power adapter, chaining multiple pedals to individual adapters creates a messy and noisy setup. The best solution is a dedicated pedal power supply. Look for one with isolated outputs, which means each output delivers its own clean power without interfering with other channels. For example, a Truetone 1 Spot Pro CS6 or an MXR M238 Iso-Brick offer multiple isolated 9V outputs, preventing unwanted hum and hiss that can plague multi-pedal setups. This is a crucial investment for clear sound. Always check the pedal’s required voltage and current (mA) before plugging it in to avoid damage; most commonly use 9V DC, but some may differ.
Connecting the Chain: Signal Flow Made Simple
Now for the main event: connecting your pedals. The general rule for signal flow is “guitar into gain, gain into time-based, time-based into amp.” So, your guitar cable plugs into the “input” of your first pedal (usually an overdrive/distortion). Then, use a short patch cable to connect the “output” of the first pedal to the “input” of your second pedal (e.g., your delay). Finally, another patch cable goes from the “output” of your last pedal to the “input” of your guitar amplifier. For example, if you have an Ibanez Tube Screamer and a Boss DD-3T Delay: Guitar -> Tube Screamer (Input) -> Tube Screamer (Output) -> DD-3T (Input) -> DD-3T (Output) -> Amplifier. Experimenting with pedal order can yield different sounds, but this basic setup is an excellent starting point. Remember to use good quality instrument cables for clear signal transfer and minimal noise. Cheap cables can introduce unwanted interference, diminishing the quality of your carefully chosen effects.
Building your first pedalboard is an exciting journey into sound modification. By thoughtfully choosing foundational pedals, investing in a reliable power supply, and understanding basic signal flow, you’ll be well on your way to crafting your unique sonic signature. Don’t be afraid to experiment, but always start with these fundamental principles to ensure a clean and functional setup.